


So, you’ve just signed up on Studio. Welcome to a space designed to help you collaborate more effectively, meet smarter, and present more confidently. Whether you’re here to host meetings, facilitate online learning, manage team brainstorms, or simply looking for a reliable Zoom alternative, Studio offers powerful tools to help you work better online
If you’re new here, we’ve made it easy for you. This Studio onboarding guide will walk you through the essential things to do right after signing up, ensuring you hit the ground running. From setting up your profile to hosting your first virtual meeting, consider this your all-in-one starter checklist.
1. Complete Your Profile and Notification Settings


First things first: personalise your Studio account. Updating your profile ensures others recognise you during virtual meetings and makes your interface feel a bit more familiar. Head to your dashboard, click on “Profile”, upload a profile picture, and enter your display name.
2. Test Your Audio and Video Setup
Studio is designed to deliver top-tier video conferencing quality. To make the most of it, spend a few minutes testing your microphone, speaker, and camera setup. A successful virtual meeting begins with clear audio and crisp visuals.
This is your chance to fix lighting, tweak angles, or adjust background noise. If you’re using a headset or external mic, make sure Studio recognises your chosen input and output devices.
This step not only boosts confidence but also ensures a seamless experience for your participants right from your first session.
3. Host Your First Studio Meeting
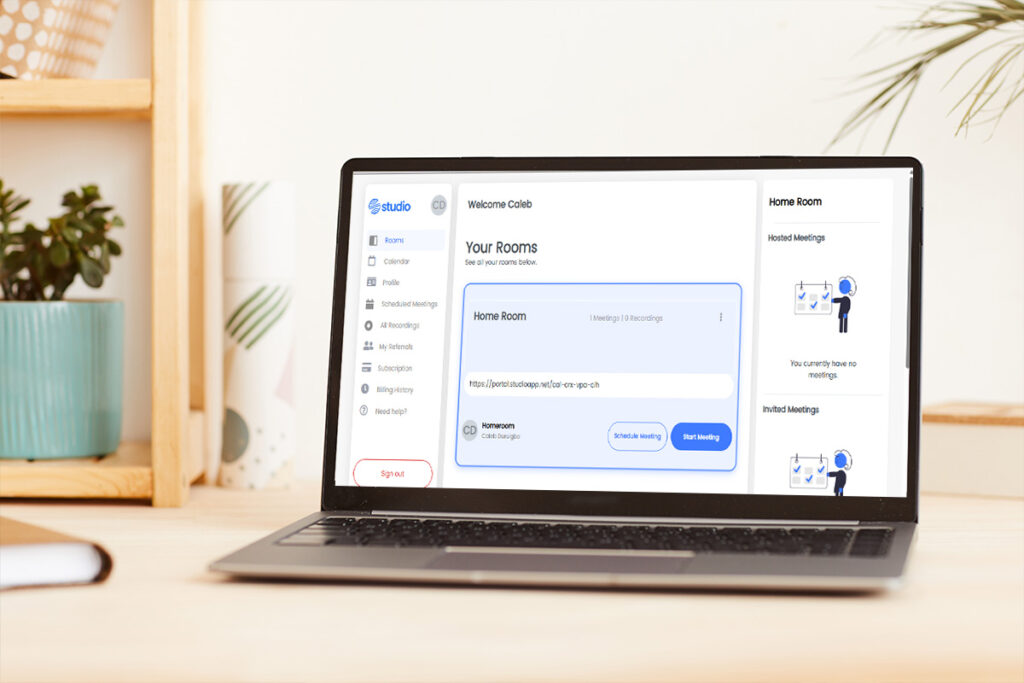
Now that you’re signed in and settled, it’s time to put Studio to work by hosting your first virtual meeting. Studio offers two easy ways to start: you can begin immediately or schedule your session for later.
To start a meeting right away, simply click the “Start Meeting” button on your dashboard. This launches a live meeting room instantly. If you’re still finalising your participant list, don’t worry, you can generate and share the meeting link at any point during or before the session.
Prefer to plan? Click “Schedule Meeting” on the homepage. You’ll be prompted to enter details such as the meeting title, date, time, short description, and the email addresses of your participants. Studio will generate a join link that you can copy and share via email, chat, or your preferred communication channel.
Want to get even more organised? Studio lets you sync the meeting with your calendar so that reminders are sent automatically. You can also upload slides, PDFs, or any documents you intend to present, so everything is ready before you go live.
Whether you’re hosting a one-on-one call, a weekly team huddle, or a group training session, scheduling your first meeting gives you a hands-on tour of Studio’s features. It also sets the tone for how organised and professional your future sessions will be.
Think of this as your first real step into using Studio, not just as a meeting tool, but as a smart, interactive collaboration space.
4. Explore the Key Studio Platform Features

Studio isn’t just another video conferencing app; it’s a full collaboration hub designed to help you work, teach, and create together in real time. What sets it apart is how it blends high-quality video conferencing with interactive tools that go beyond just talking on screen.
Here are some essential Studio features you should get familiar with right away:
File Uploads
Need to share a document, PDF, or presentation during your meeting? Studio allows you to upload files directly into your meeting room. This means you no longer have to jump between apps or screens; everything you need is in one place, accessible to all participants.
Screen Sharing
Want to walk your team through a website, demonstrate a product, or present a slide deck? Studio’s screen sharing feature lets you show exactly what’s on your screen in real time. It’s ideal for walkthroughs, live demos, and collaborative reviews.
Meeting Recording
Missed a meeting or want to review what was discussed? Studio lets you record your sessions with just a click. Once recorded, you can replay the meeting, share the link with others, or use it for future reference. This is particularly useful for training, client calls, and classroom sessions.
Shared Notes
Studio includes a shared notes feature that allows everyone in the meeting to contribute to a central notepad. This encourages real-time collaboration and ensures key takeaways, action points, or ideas are documented as the meeting unfolds. No more scrambling to share minutes afterwards, your notes are ready and accessible.
Whiteboards
Sometimes, visual thinking is the best way to solve a problem or spark creativity. Studio’s digital whiteboards give you a space to sketch ideas, map out processes, or collaborate visually, just like you would with a physical board in a room. Perfect for brainstorming sessions or planning workshops.
These tools are what make Studio more than just a virtual meeting space. They turn every session into a dynamic, collaborative experience. By exploring and using these features early, you’ll not only improve engagement but also get more value out of every interaction on the platform.
5. Use Studio’s Interactive Tools to Keep Everyone Engaged
This is where Studio truly sets itself apart. Beyond high-quality video and screen sharing, it’s the interactive features that make your sessions come alive. If you’re hosting workshops, online classes, strategy sessions, or team check-ins, you need more than just a webcam and a chat box to hold attention. Studio gives you the tools to create two-way communication and keep participants actively engaged throughout your virtual meeting.
Random Speaker Select
Tired of calling on the same voices or dealing with awkward silence when asking for input? Studio’s Random Speaker Select feature adds spontaneity and fairness to your meetings. With one click, you can randomly choose a participant to respond to a question or contribute to the discussion. It’s a simple but powerful way to promote inclusion, encourage participation, and make everyone feel seen and heard.
Live Polls
Want to take a quick pulse of the room or gather opinions on the fly? Studio makes it easy with built-in live polling. You can pose a question to your audience and watch responses roll in instantly. Polls can be set to anonymous, which encourages honest feedback, especially in sensitive discussions or classroom settings. It’s great for checking understanding, collecting votes, or just making the session a bit more fun and interactive.
Share External Video
Want to show a YouTube video, a tutorial from Vimeo, or a media clip from Dailymotion or Twitch? Studio makes it seamless. Instead of screen sharing, you can directly play external videos from platforms like YouTube, Vimeo, Instructure Media, Twitch, Dailymotion, or even from a media file URL. Everyone in the meeting can watch together, making it perfect for reviews, discussions, or teaching moments that involve external content.
These interactive tools shift the dynamic from passive listening to active participation. They help foster engagement, spark conversation, and keep attendees focused and involved. Whether you’re teaching a class, running a team brainstorm, or leading a training, these features make your virtual meeting feel more human, inclusive, and collaborative.
Don’t wait until your third or fourth session to try them out; incorporate them into your very first meeting. The more comfortable you become with these tools, the more effective your sessions will be.
Quick Pricing Snapshot
If you’re wondering about upgrades or team-wide access, Studio offers a flexible pricing model designed for different needs. While you can explore the platform for free, advanced features such as longer meetings, more participants, and extensive collaboration tools may come with the paid tiers.
Visit the Studio Pricing Page to explore the options available based on your needs and team size.
Signing up is just the beginning. Now that you have this Studio onboarding guide in hand, you’re well-equipped to get the most out of the platform. From setting up your Studio account to exploring its rich features, each step brings you closer to smarter, more effective collaboration.
The best way to learn? Dive in. Schedule a meeting, test out the tools, and start building your virtual workspace. So what are you waiting for? Visit www.studioapp.net to dive deeper into the features or book a demo tailored to your needs.